


Figure 1: Car radiator fan.
A properly functioning radiator fan is crucial for maintaining the optimal temperature of your vehicle's engine.
Overheating can lead to serious engine damage and costly repairs. Therefore, it's essential to ensure that your radiator fan is working effectively.
In this article, we will provide you with a comprehensive step-by-step guide on how to test your radiator fan to
determine if it's operating as it should.
1. Before you begin
Before jumping into the testing process, it's important to take some necessary precautions:
1.Park your vehicle on a level surface and engage the parking brake.
2.Ensure that the engine is cool before starting any testing procedures. Working on a hot engine can be dangerous
and may result in burns.
3.Familiarize yourself with the location of your vehicle's radiator and radiator fan. Refer to your vehicle's
owner's manual for assistance if needed.
2. 7 Steps to Test Your Radiator Fan
With these precautions in mind, let's proceed to the testing process.
2.1 Step 1: Turn on the Engine
Start by turning on the engine and allowing it to idle. It is important to ensure that the engine has reached its operating temperature during the testing process. This will help simulate the conditions under which the radiator fan operates.

Figure 2: Structure of the automobile engine cooling system.
2.2 Step 2: Observe the Radiator Fan
Once the engine has warmed up, carefully observe the radiator fan. The radiator fan is typically located behind the radiator and is responsible for cooling the engine coolant. It should start spinning once the engine reaches the operating temperature. If the fan doesn't turn on automatically, proceed to the next step.
2.3 Step 3: Check for Power Supply
To determine if the problem lies with the fan itself or the power supply, use a multimeter to measure the voltage at
the fan's connector. Set the multimeter to the DC voltage setting. Be cautious and avoid making contact with any
moving parts of the fan.
Connect the multimeter leads to the fan's positive and negative terminals. If the multimeter reads 12 volts or the
specified voltage for your vehicle, it indicates that power is reaching the fan. In this case, the issue may lie
with the fan motor itself. If the multimeter doesn't
display any voltage, the problem may be related to the fan's power supply.
2.4 Step 4: Test the Fan Motor
To test the fan motor directly, you can bypass the power supply by using a jumper wire. Locate the fan's positive
and negative terminals. Take a jumper wire and connect one end to the positive terminal and the other end to the
vehicle's battery positive terminal.
If the fan motor functions properly, it should start spinning when connected to the battery. Ensure that you connect
the wire securely and avoid touching any metal surfaces or moving parts. If the fan doesn't turn on, it's likely
that the motor itself is faulty and needs to be replaced.

Figure 3: Radiator structure diagram.
2.5 Step 5: Check the Fan Relay and Fuse
If the previous steps indicate that the fan motor is receiving power but still doesn't turn on, you might need to
check the fan relay and fuse. A faulty relay or blown fuse can prevent the fan from
operating correctly.
Locate the fan relay and fuse in your vehicle's fuse box. Refer to your owner's manual or a vehicle-specific repair
guide to identify the correct relay and fuse. Inspect the relay for any signs of damage or burning. Replace it if
necessary. Remove the fuse and check if it is intact or blown. If the fuse is blown, replace it with the appropriate
rating.
2.6 Step 6: Inspect the Temperature Sensor
The temperature sensor plays a crucial role in activating the
radiator fan at the correct temperature. If the sensor is faulty, it may not send the signal to the fan to turn on.
Inspect the temperature sensor and its wiring for any damage or corrosion.
You can use a digital multimeter to test the resistance of the temperature sensor. Disconnect the sensor from its
wiring harness and set the multimeter to the resistance or ohms setting. Touch the probes to the sensor terminals
and check the resistance reading against the specifications provided by the vehicle manufacturer. If the reading is
significantly different or shows an open circuit, the temperature sensor may need to be replaced.

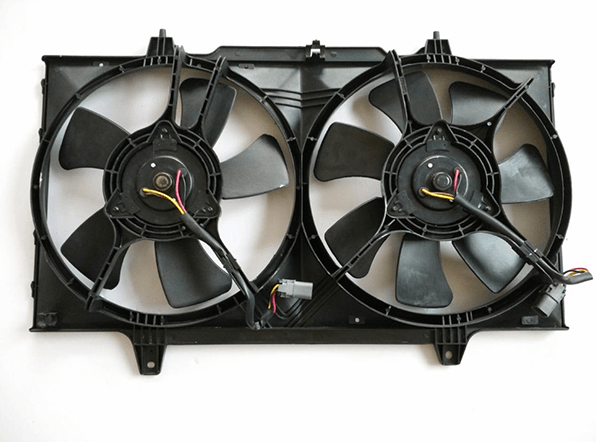
Figure 4: Car radiator fans.
2.7 Step 7: Seek Professional Assistance
If, after following the above steps, you are unable to determine the cause of the radiator fan malfunction, it's recommended to seek professional assistance. An experienced mechanic can perform further diagnostics and repairs to resolve the issue effectively.
3. Conclusion
Testing your radiator fan is crucial for preventing engine overheating and ensuring the overall performance of your vehicle. By following this step-by-step guide, you can identify and troubleshoot any issues related to your radiator fan. Remember to prioritize safety and consult a professional if needed. Regular maintenance and testing of your radiator fan will help keep your engine cool and prevent costly repairs down the road.
