


Figure 1: Clean the notebook fan.
After the notebook has been used for a long time, if a large amount of dust accumulates on the cooling fan, it will lead to poor cooling effect, which may further cause the processor and graphics card to overheat and crash when some programs are running. Next, this article will introduce the cooling fan cleaning process of Sony E series notebook. Let's disassemble the notebook to clean the fan dust together.
1. Some Precautions Before Disassembly
1. The method of cleaning the notebook described here requires dismantling the notebook case. If your notebook is
still within the warranty period, it is not recommended to dismantle it for cleaning. Generally, if the notebook is
used for a short period of time, there is no need to clean the dust. The notebook disassembled here is out of
warranty.
2. If your notebook needs to be cleaned and your hands-on ability is poor, it is recommended that you take the
notebook to a repair center for cleaning.
3. Before dismantling the notebook, you should first remove the static electricity on your body. Professionals can
wear an ESD wrist strap. It doesn’t matter if ordinary users don’t have one. You can wash your hands to remove the
static electricity that may be on your body.
4. Before dismantling the notebook, it is necessary to unplug it from the external power supply and take out the
battery of the notebook to prevent accidental short circuit and burn out the notebook.
2. Core Steps of Cleaning Dust from Notebook Fan
2.1 Preparations for Dusting Your Laptop
Prepare the tools you need to use: screwdriver, compressed air duster (with straw), dust brush, dry rag, thermal grease (it is recommended to buy famous brands), etc. All tools can be found on the Internet.
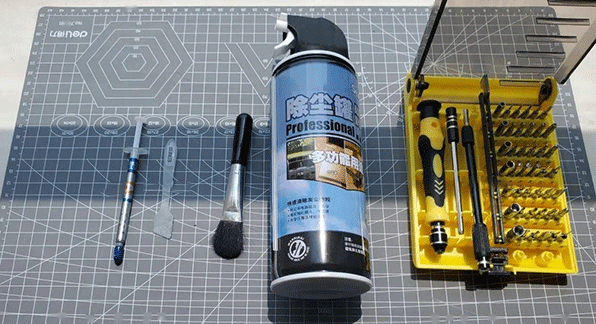
Figure 2: Tools for notebook fan cleaning.
2.2 17 Steps to Take You to Deeply Clean the Laptop Fan
The notebook to be cleaned up this time is a Sony E-series product.
1. Before cleaning the dust, first remove the battery of the laptop.
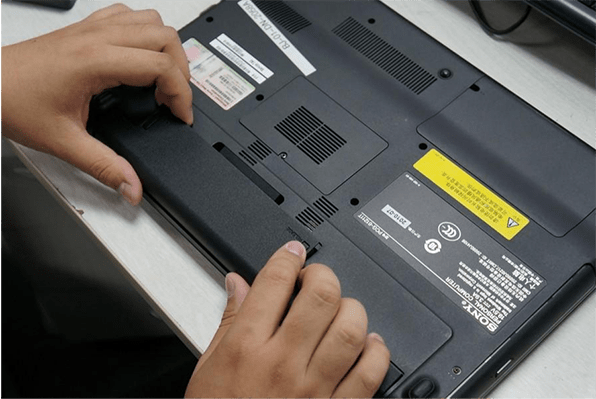
Figure 3: Remove the laptop battery.
2. After the battery is removed, you can start to disassemble the memory. First, remove the memory cover.
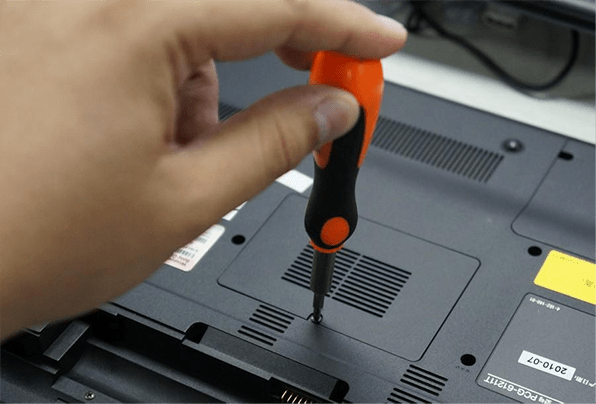
Figure 4: Remove the screw on the memory cover.
3. After removing the memory cover, you can see that this Sony E series notebook is equipped with 2GB DDR3 1066 memory as standard. It has two memory slots and supports upgrades. It is very simple to disassemble the memory, as long as the clips on both sides are loosened, and the memory can be removed with a light pull.
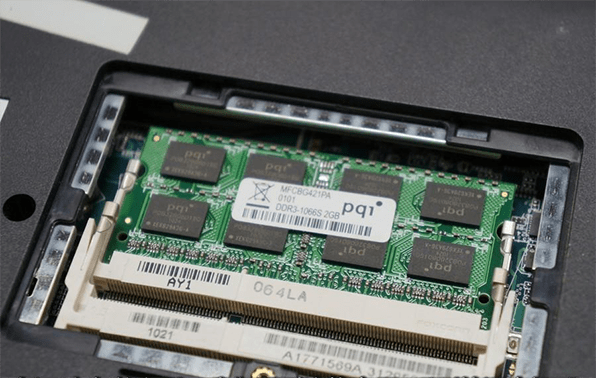
Figure 5: Memory card.
4. When removing the hard disk, the hard disk cover must also be removed first. After removing the cover, you can see the hard disk.
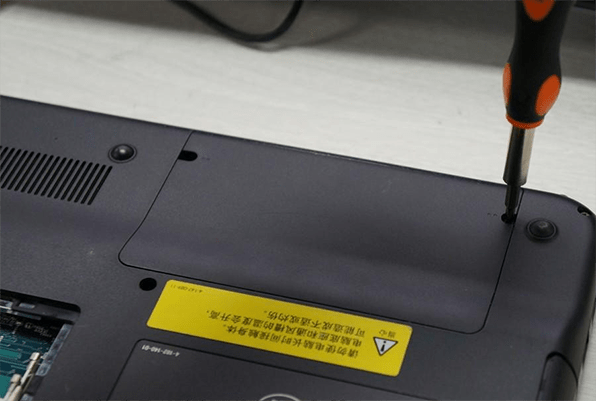
Figure 6: Remove the screw on the hard disk cover.
5. After the hard disk cover is removed, use a screwdriver to loosen the screws that fix the hard disk.
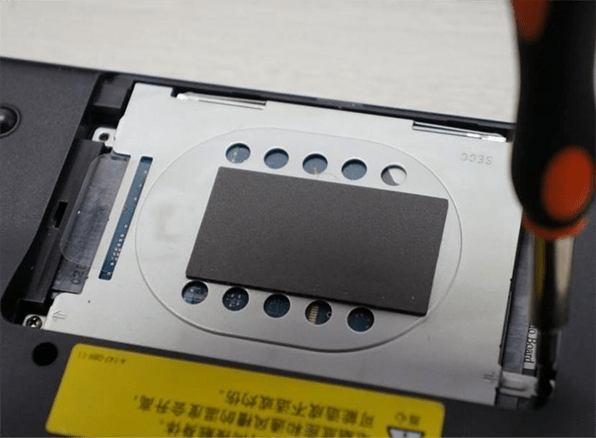
Figure 7: Remove the screws fixing the hard disk.
6. After the screws are unscrewed, the hard disk can be removed from the compartment.
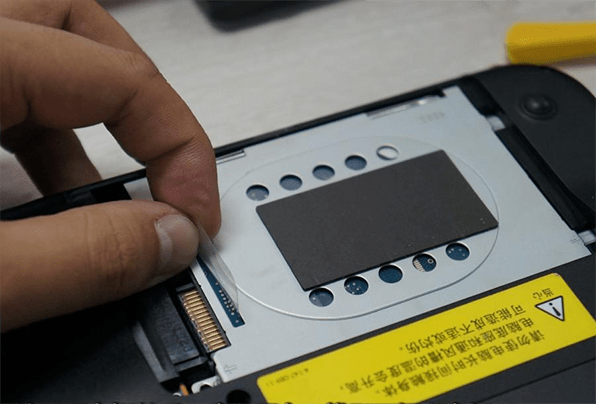
Figure 8: Take the hard disk out.
7. After removing the battery, hard disk, and memory, use a screwdriver to unscrew the screws around the bottom cover to remove it.
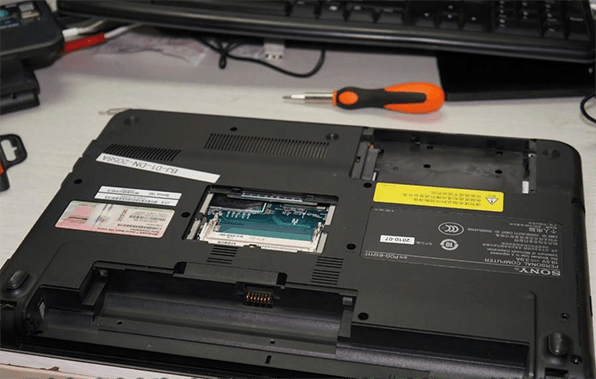
Figure 9: Remove the bottom cover.
8. After the bottom cover is removed, you can clearly see the motherboard and other accessories of this notebook.
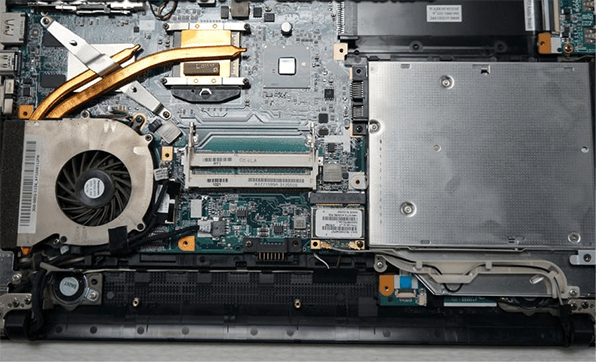
Figure 10: View of laptop bottom.
9. Before cleaning the fan, unscrew the screws that fix the heat pipe first.
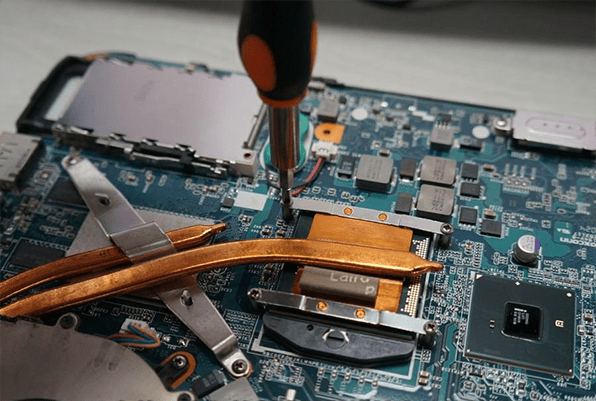
Figure 11: Unscrew the screws fixing the heat pipe.
10. After unscrewing the screws around the CPU heat sink, unscrew the screws fixing the fan.
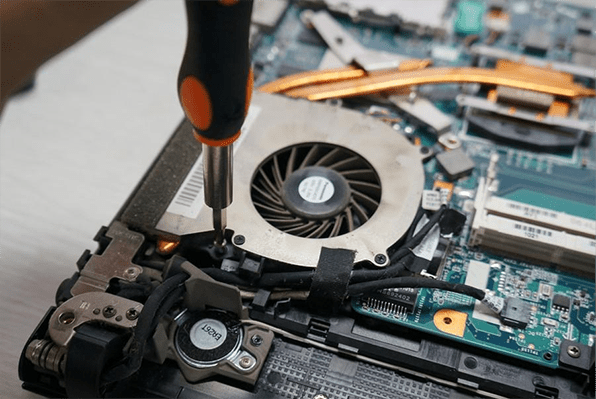
Figure 12: Unscrew the screws fixing the fan.
11. Unplug the cooling fan from the motherboard.
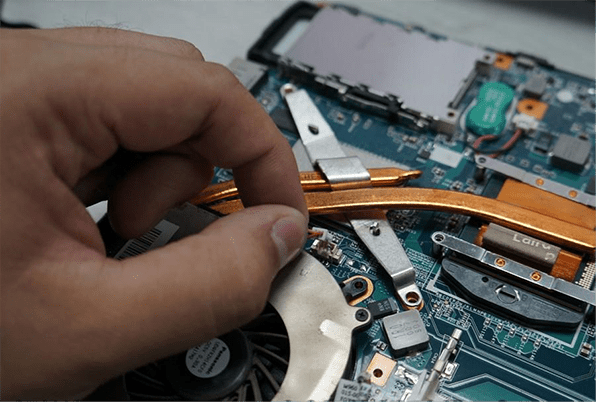
Figure 13: Unplug the fan.
12. Remove the fan and heat pipe. After the fan is removed, it can be seen that there is a lot of dust under the fan installation position.
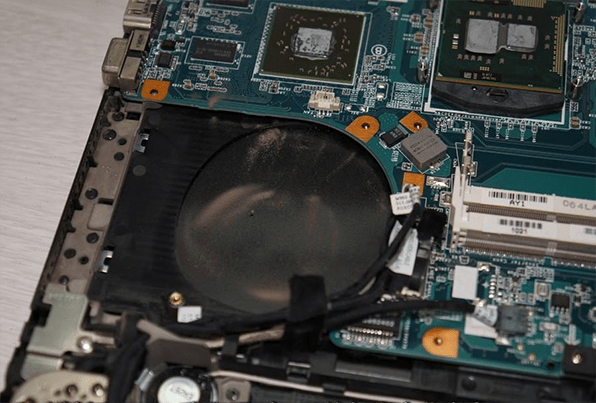
Figure 14: Dust at the installation place of the fan.
13. Next, use a small brush to clean the dust on the fan, and the copper plate and heat pipe below can be cleaned with a cleaning cloth.
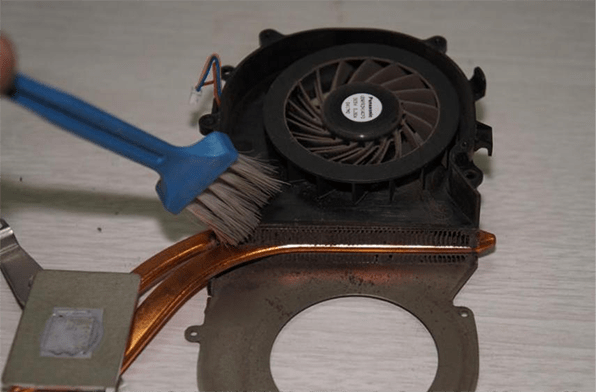
Figure 15: Clean the fan.
The cleaned cooling fan looks much cleaner than before.
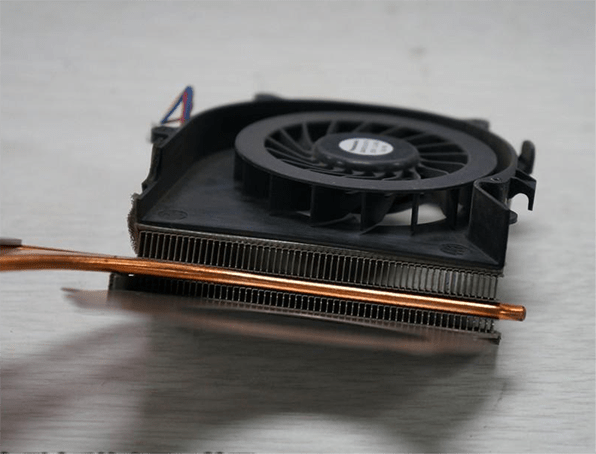
Figure 16: A clean fan.
14. Before the CPU cooling fan is reinstalled on the motherboard, reapply the thermal grease on the contact surfaces
between the metal sheets and the CPU and GPU. Clean up the previous dried thermal grease on the CPU, GPU and metal
sheets.
Be extra careful in this step. Don't touch the capacitors and resistors on the back of the chip so as not to knock
them off. When reapplying new thermal grease, be sure to apply it evenly and not too thickly.
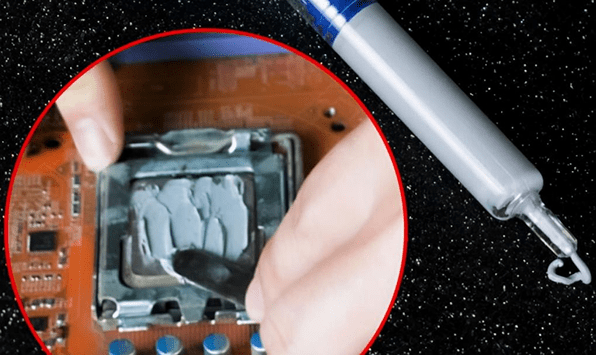
Figure 17: Apply thermal grease.
15. After replacing the thermal grease, install the cooling fan on the motherboard, tighten the screws, and plug it in.
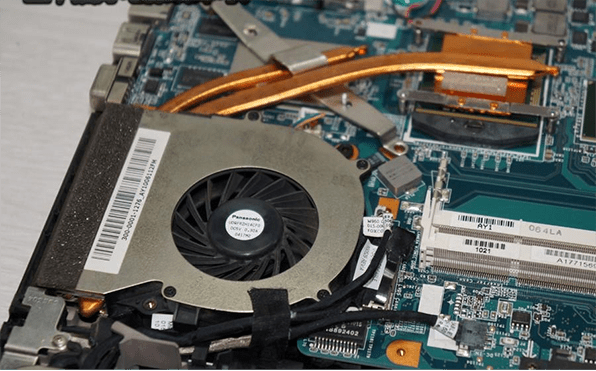
Figure 18: Reinstall the cooling fan.
16. Tighten the screws to fasten the bottom cover.
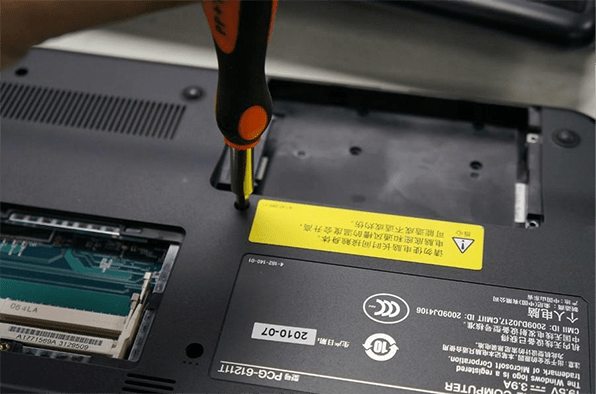
Figure 19: Fix the bottom cover.
17. Then install the memory card, hard disk, battery and their covers in sequence. When installing the memory, be sure to insert it tightly, and then fasten the clips. After the installation is complete, finally check whether the computer can be turned on normally and the fan is running normally.
